Monday, July 31, 2023

Christmas in July with ASD

It will come as no surprise that I found a new Poinsettia to add to my collection!  This beauty from Alex Syberia Designs: Festive Poinsettia is a stunner!  

For its premier I chose to stamp and stencil first - in gorgeous oranges!  


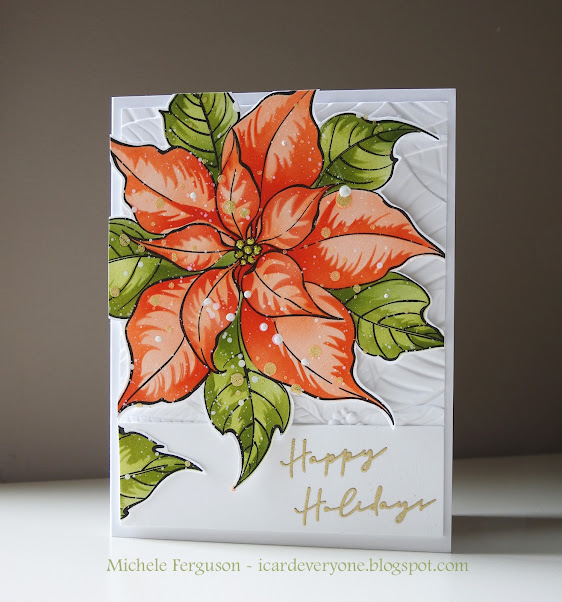
I fussy-cut it out and popped it up on Altenew's embossed Poinsettias!  The Happy Holidays sentiment is just one of many in the set - I can't wait to get my hands on the coordinating die, but until then I like it heat embossed in Ranger Princess Gold on this strip.  Is it bad that I couldn't throw away that little snipped leaf?

Next, I couldn't help but watercolor it in shades of red...


Distress inks always stay so bright!


Another bit of fussy-cutting and then popped up over a Waffle Flower Craft Nesting Square Frame cut from white... I just love the 'handwritten' look of ASD's sentiments!

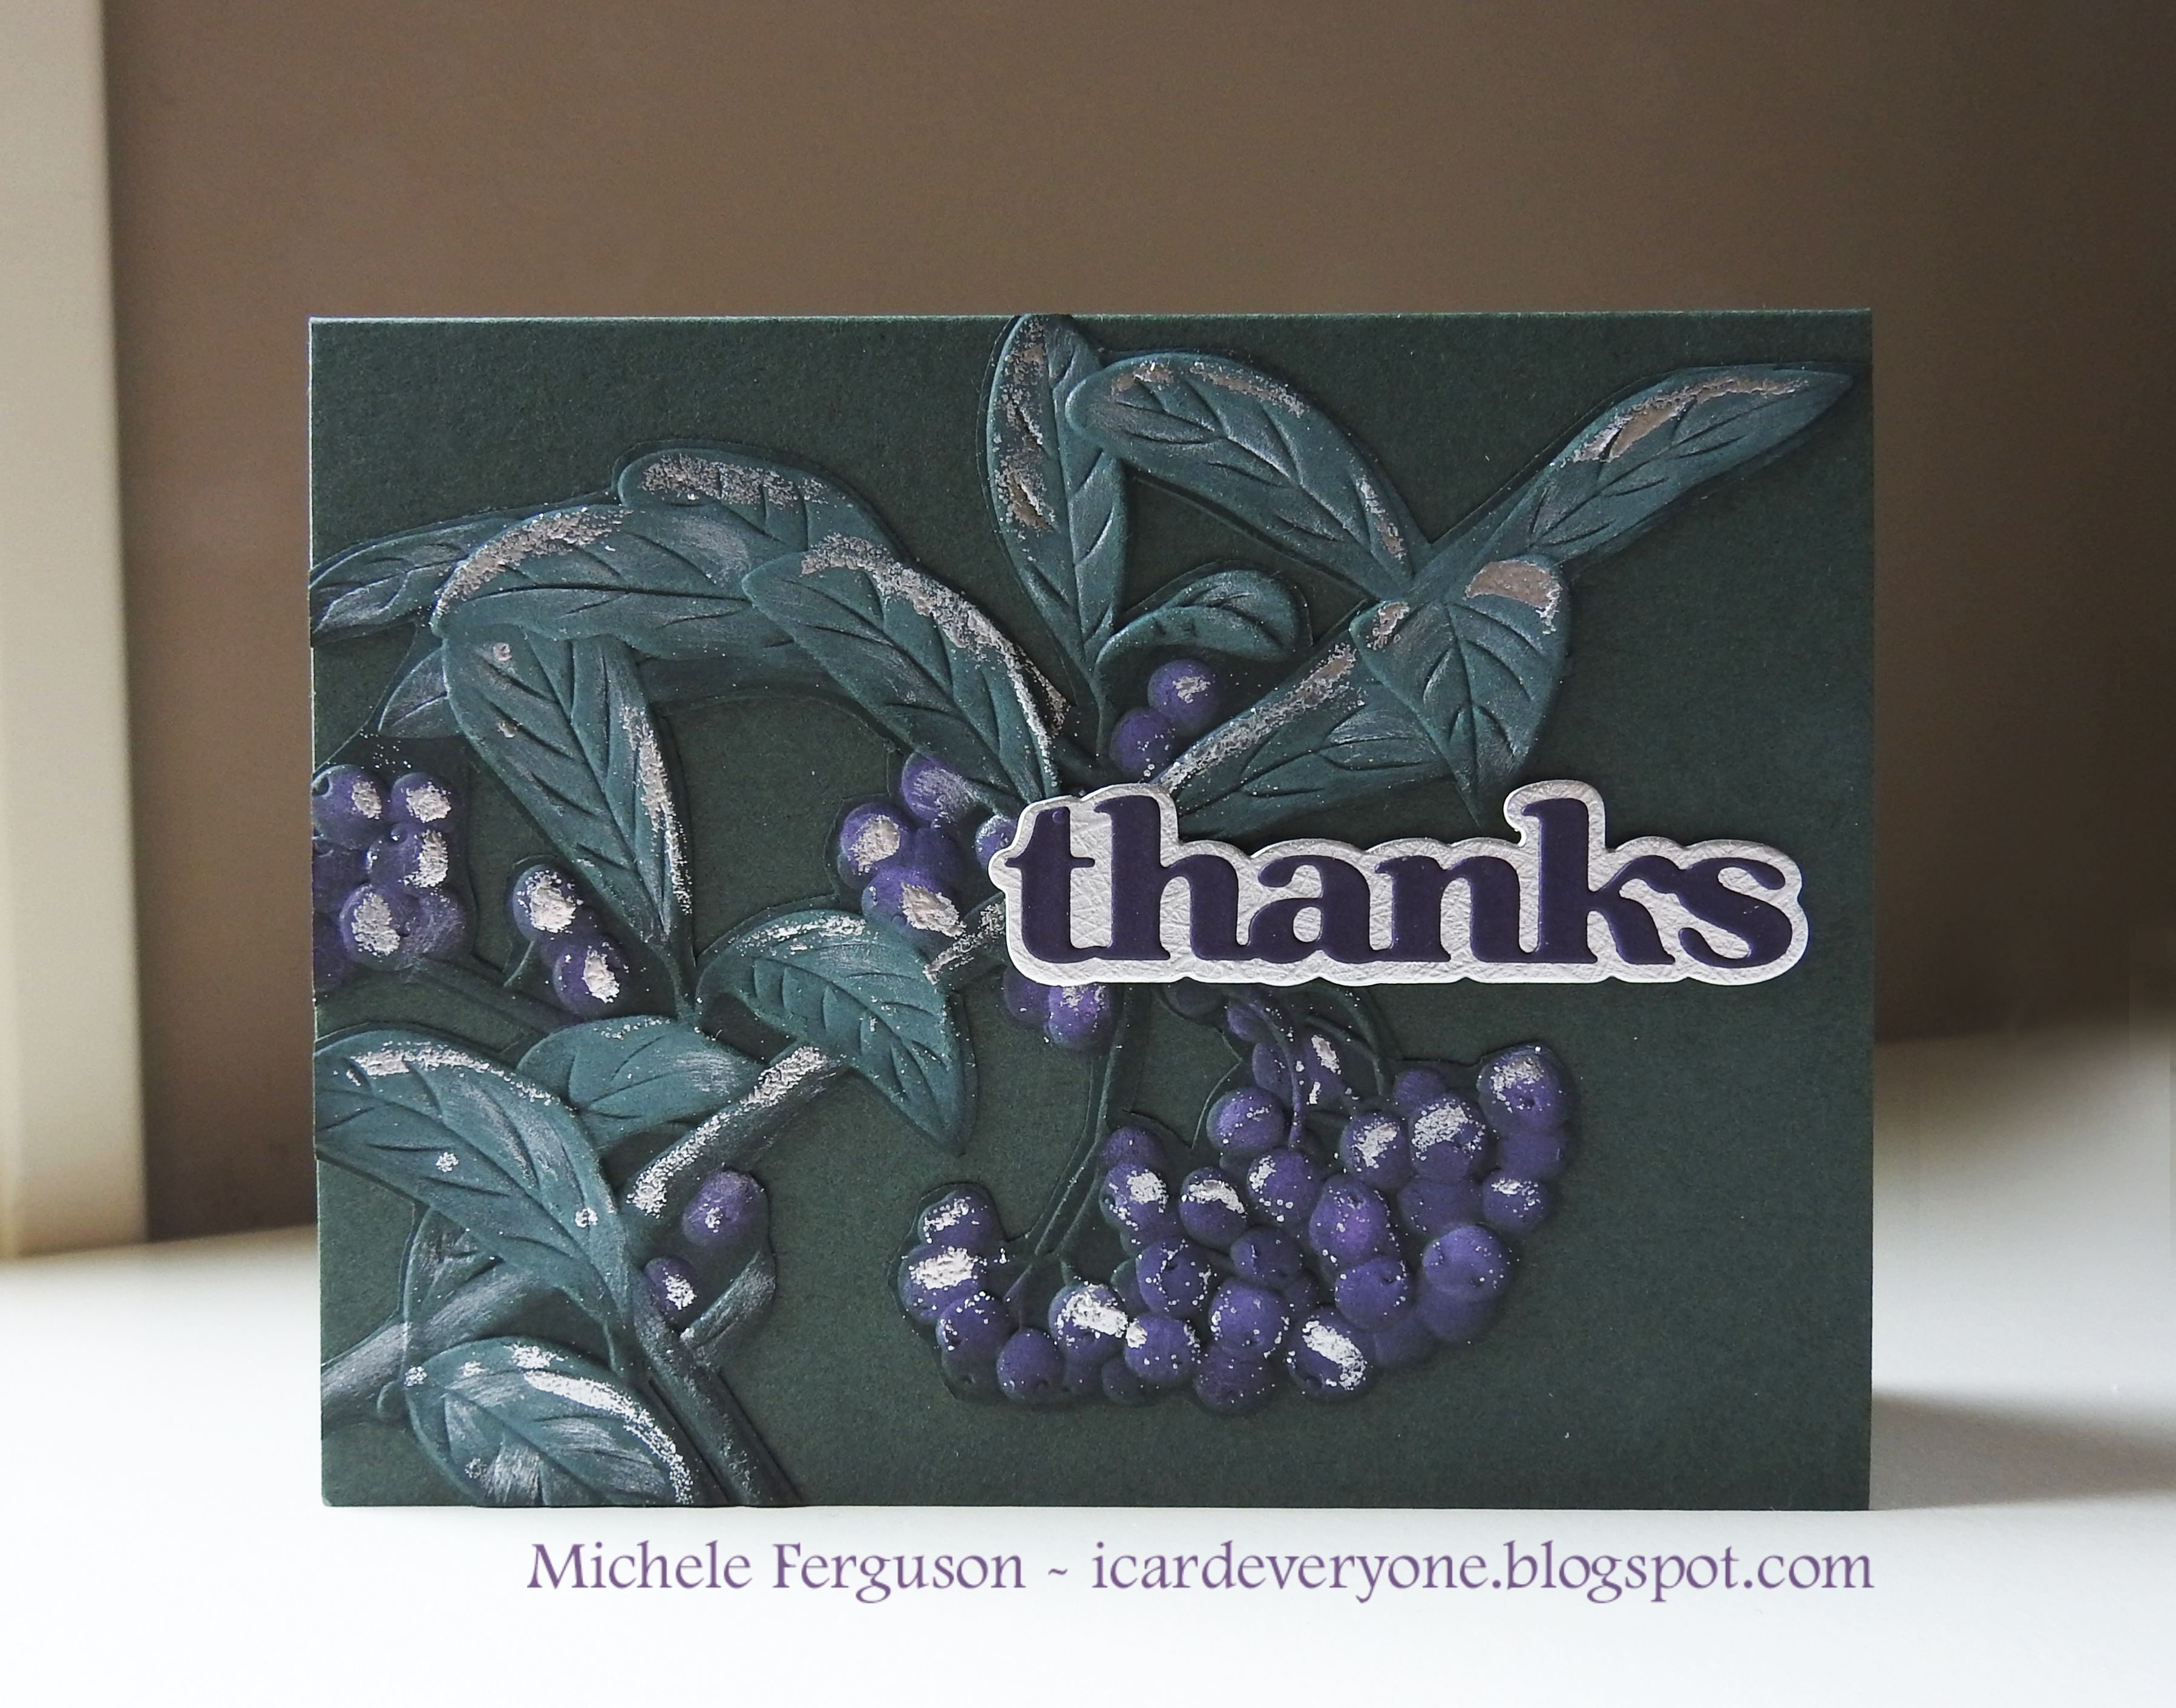
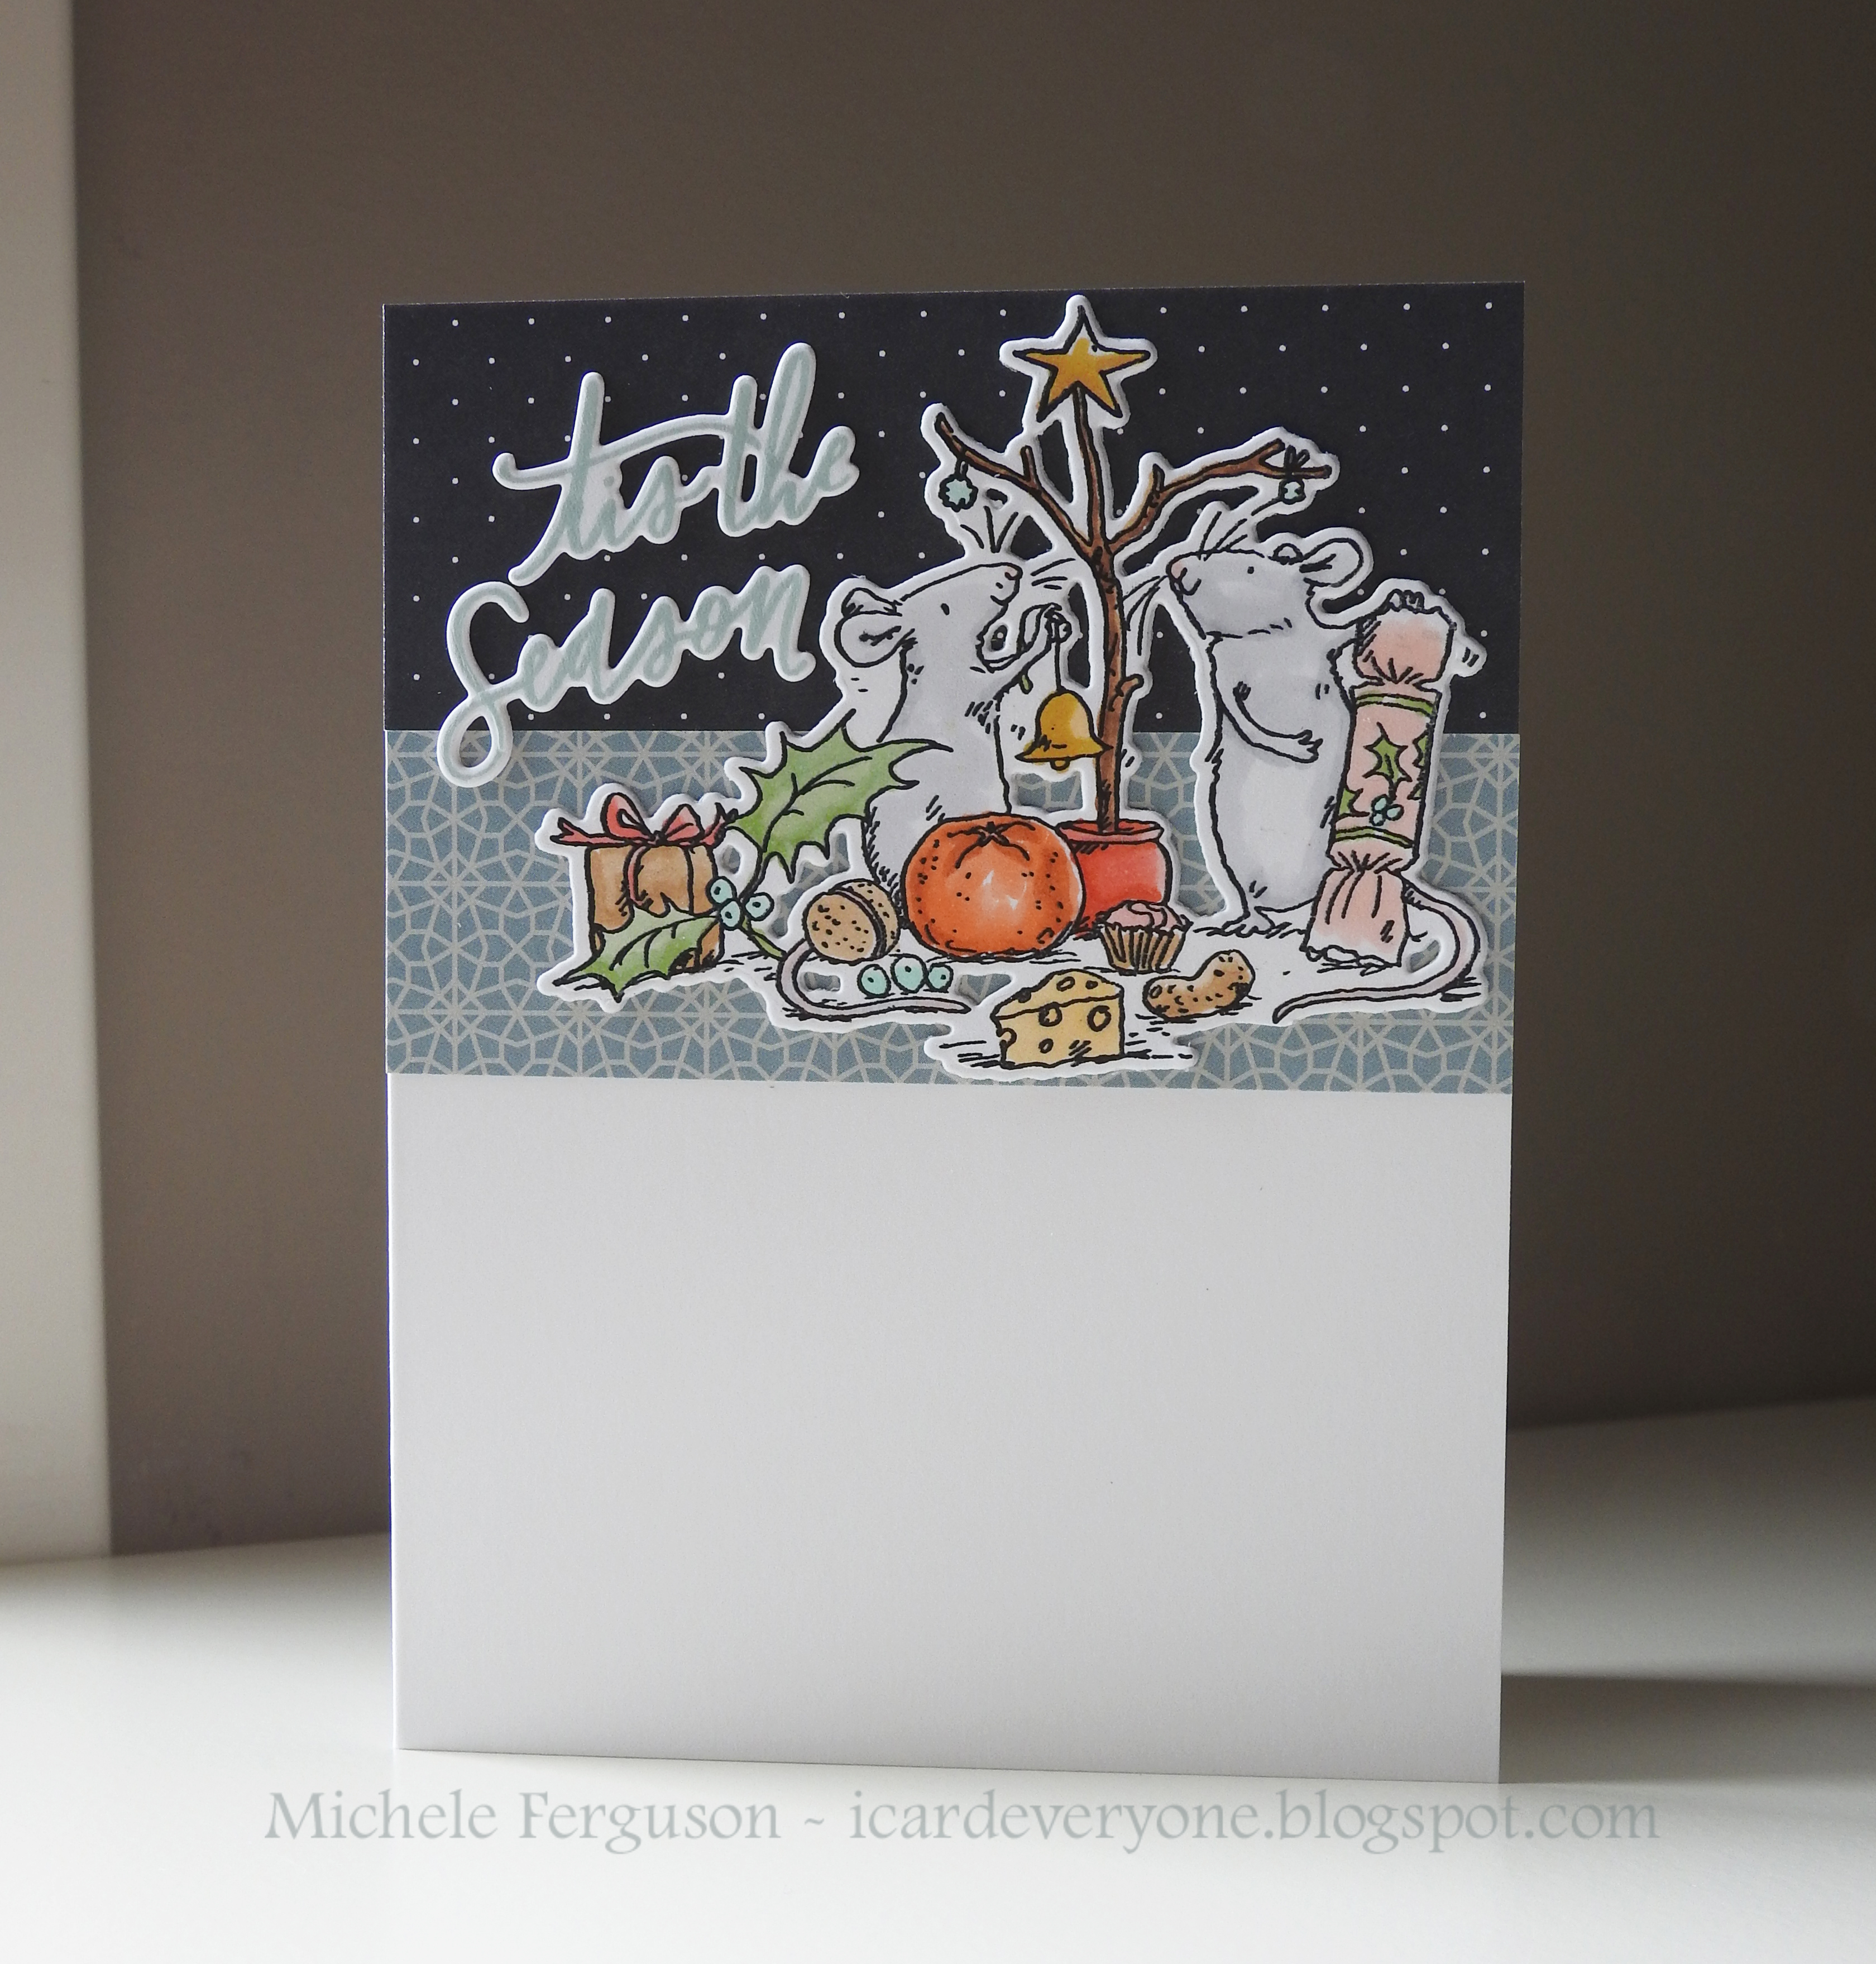
Okay, that's it for my Christmas in July cards - I haven't given up on making them though as I have a long way to go before my list is complete!

I'll be having Tom choose the winner of that Waffle Flower Craft Grip Mat from a little bowlful of all your names tonight!  Watch for my announcement tomorrow - and thanks so much for every bit of kindness you left for me!

=] Michele

Friday, July 28, 2023

BYSHC Christmas in July - thirds!

Another little post to thank those fab gals @BYSHCardmakers for helping me getting me started with my 2023 Christmas cards.  You may know this, but I send as many as I can over to those sweet seniors through the wonderful Bring Smiles to Seniors organization.  

You all loved my stenciled mountain scene - guess what?  I didn't waste any of that ink!  After each stencil layer was complete, I gave the stencil a fine mist of water and flipped it over onto a piece of ordinary Neenah 80# paper!  By the time I had the original card finished, this one was ready for embossing - SSS Tall Pines was right there waiting for it!

Hey - I think I'll send this one over to Can you Handle the Pressure, too!  No twist, but they won't mind!


There's another look at that wonderful sentiment from ASD's Angels Bells.

HEY!  Speaking of - I had a fun day of play with all my new Christmas goodies from Alex Syberia Designs ... check out the 'tropical' colors I borrowed from the packaging...


I also stamped the Bells in black to add a bit more interest to my 
card base - and another sweet little Merry Christmas sentiment
from the set - LOVE that there are so many dies for sentiments
in her sets!


I better get that card into the BYSHC gallery before they close their door to July today!  Thanks for all the sweet support this week, my friends!
=] Michele

I was invited to Play Cards!

Last week I was invited to Play Cards by my friend Nora!  She had watched a video by one of the wonderful Altenew designers - Michelle Short - and invited me to a Facetime Playtime to try it out together!  How fun is that?

HERE is the link to Michelle's video just in case you'd like to try it out, too!

Nora and I had one of the same embossing folders Scenic Poinsettias from Spellbinders, and a few different ones to use, too.  Since I'm not a tag maker, I chose to use the technique on a full panel - but only used part of it!  Here's how that worked out:

These are the inks and supplies that were used to ink the raised images, and add a bit 
of sparkle to my card using silver Delicata ink and silver embossing powder 'selectively'...


My next card was nearly thrown away - but I persevered.  Since it was the background that I wasn't happy with I simply snipped it away by fussy-cutting the Altenew Berried Cotoneaster embossed image!  I do love the technique on this deep dark green cardstock ...


and the inks:
 

I saved my favorite for last - those of you who know me well will be scratching your heads wondering why I chose the blue one as my favorite, I'm sure!


Nora and I both loved the gold with the resulting 'navy' that was the result of
swiping black cardstock with blue distress oxide inks with a finger dauber onto 
this gorgeous Altenew 3D Poinsettia!


A simple die-cut sentiment adds the perfect final touch to my cards today!  

Thank you so much for inviting me for a playday, Nora!  It was so fun catching up with you and chatting while crafting is always fun!  I can't wait to see how your cards turned out!!

Thanks to all of you for stopping by - remember I'm always up for a playday!
=] Michele

Thursday, July 27, 2023

Thanks LeAnne! and BYSHC Christmas in July 2023

I must thank my good friend, LeAnne for introducing me to the Build Your Stash Holiday Cardmakers' group!  I sure did drag my feet this year and needed all the help I could get to get a jump on my Christmas cards!


The BYSHC photo inspiration grabbed my attention, and I knew immediately which set to reach for:  Pigment Craft Co.'s Jumbo Botanical: Berry Sprig!

Here are my inks:


and a little closeup of that sparkle... and a peek at a little sprig of vellum, too...


since LeAnne influenced my playtime, of course I'm honoring her with this
wonderful SU Tasteful Textile embossing!


and along the way, I found another great use for my Waffle Flower Grip Mat!
The Ton makes these wonderful two-step sentiment stamps, after cutting with
their all-at-once die I cut an extra set for layering.  By popping them out of the
die right onto my Grip Mat they stayed put while gluing the stamped layer.


I hope you all have been better at getting a jumpstart on Christmas - maybe you could use a fantastic little challenge inspiration, too?
=] Michele

FMS#596 and BYSHC and DD Christmas in July 2023!

Just in case you need it: FMS = Freshly Made Sketches BYSHC = Build Your Stash Holiday Cardmakers.  I have been so lax about making Christmas cards this year... it was time I added a few to the stack before July is behind me and the behind-er I get!

FMS#596 has a very unique Sketch for us this time - thanks Judy:

Keeping all the decorative elements to the top of the card [or side if you flip it] proved to result in a very cute spot to park one of those darling Colorado Craft Co. images.  I will be making another card for BYSHC as I just cannot resist their wreath:

Ready for my card?  First, let me show you the 'pile' of Copic's used today...


Worth the time and number...

CCC: Wonderful Time + dies and 'Tis the Season from The Stamp Market
HoneyBee Stamps Bee Bliss papers to define starry sky and snowy ground.

I have ONE more for you today - the girls from Double D's Christmas in July challenge called my name... 


this little birdy answered ... although she'd be happy in a cocktail, my
wreath will have to do today!


This little Tweetie is another from Lil' Inkers that we 
cannot get anymore - sadly.  Water colored with Distress inks.

I hope you're having a great week - thanks for sharing your day with me!
=] Michele

Wednesday, July 26, 2023

Peace on Earth Christmas #44 Second Helpings

As threatened promised, I have second helpings for Peace on Earth Christmas #44 - I hope you don't struggle finding my inspiration from their magical photo inspiration!


One really wonderful layering stencil set from Pinkfresh Studios, 
lots of Distress Oxide inks, and a bit of Jelly pen highlights later:


I love this sentiment from Alex Syberia Design's Angels' Bells - more on that soon!  I die cut it after white-on-white heat embossing then blended in a trio of the inks used on my main panel.

You have a week to join me in their wonderful gallery!  Thanks for stopping by!
=] Michele


Pinkfresh Studio: Wintry Forest layering stencils
Alexandra Renke: House 1, 2, and 3
Alex Syberia: Angels' Bells stamps and dies

Peace on Earth Christmas Challenge #44

Peace on Earth Christmas Challenge #44 has wrapped up tons of the magic of Christmas in their photo inspiration!  I DO believe!!


I cut out this Dash Away die from dark grey card, then added silver 
heat embossing for the magic!


I found this sweet little Santa and his Reindeer die in my supplies and knew he was perfect for an appearance above my midnight forest of trees!

I'll be back with second helpings - hope you don't mind!
=] Michele

SSS Tall Pines embossing folder
Sizzix for Tim Holtz - Dash Away All - SSS Diecember 2021
Alex Syberia Angels' Bells for sentiment - also silver heat embossed
MFT Timber Green cardstock
Stormy Sky Distress Oxide ink
Delicata Silver pigment ink
Ranger Silver embossing powder

Tuesday, July 25, 2023

Waffle Flower Grip Mat Release and GIVEAWAY!


Hello, my friends!  I was honored to receive a fun new product to test and play with from Waffle Flower Crafts Tools collection: the incredible Grip Mat!  Nina sent me the 8.5" square model, but there are Grip Mats sized for use in your original MISTI stamp positioner and mini MISTI.  Also, a 6" square model, too!  
Nina made a really great video that might help you decide which size is best for your needs... you can watch it HERE.

The Grip Mat made of photopolymer, comes packaged on clear acetate - just like our photopolymer stamps do - but included in the package is a measured placement guide printed on acetate.  I chose to mount my Grip Mat onto the measured guide and leave it there which allows me to move my 8.5" square mat, but the paper and stencils stay put!  After using, I give it a good cleaning with a fresh baby wipe and cover it with the clear acetate on top.  It has found an easy-to-reach home in my studio!

  • Take a look at a setup.  You can actually see in the photo how well it holds that stencil, right?  It doesn't budge allowing as much, or as little inking as you'd like!


  • Next, I used my Grip Mat to hold a few die-cut tiny little bees that were bound to buzz off to parts unknown if I'd tried to hold them with my fingers! 
  • Those inks aren't going anywhere either!  My favorite way to add ink is with a brush that I tap off into the lid - you know how much I hate to waste anything!

Happy Bee Die set
  • The Grip Mat does a great job of holding those little bits in place while assembling the layers - and the glue cleans up without leaving any residue.


Here's how all of the bits came together:


I also used my mat to hold my card base in place while adding a little shadow of ink behind another cover die...


Waffle Flower has a handy add-on to their Grip Mats, too... their Stencil Extender allows you to use several sized stencils with their mat. The included 3-inch circle cutout to layer up more than one stencil... 


After mounting my Stencil Extender, my A2 panel is placed onto the mat using the placement guides - I did add two small
pieces of tape to hold the mask as it did not come into contact with the mat.  Then comes a 6" square stencil that tucks into the tabs that will hold it in place...


See how it tucks right into the 'tabs'?   WF made tabs for 6" stencils, 6.5 x 5.25" stencils, and 5.25 x 4.25" stencils.  Besides the open circle, they also included the 3" circle mask.  Here are the results using WF Brick Wall stencil...


Are you ready for the cuteness that came out of my first use of this amazing tool?


Happy Bee die, Brick Wall stencil, Nesting Circle Frames dies, 
Sketched Daffodils stamps and dies.


Outlined Hexagon Die, Happy Bee, Happy Bee Day combo set


Hexagon Texture Die, Happy Bee, Happy Bee Day combo

I'm so happy you stopped by today - guess what?!  I have been gifted ONE 4.25 x 5.5" Grip Mat to give away to one lucky person who leaves a comment!!  That's right YOU might BEE the lucky one!  BUT only one comment per person, and you must comment by July 30, 2023 to be eligible to win!  The winner will be chosen from the comments left here - so be sure I have your email address!

Good luck!
=] Michele

Sunday, July 23, 2023

Just us Girls #689


Ina is the host for JUGS#689 this week - it's CAS week but she's asking for THREE of something on our cards ... I think I've found a way to be a little tricky!  Let's see if she likes it!


That's right THREE little words!  In this case my words are from a regular die that I'd silver foiled onto a white panel and used this sweet ornate tag to cut for my card front... of course alone they wouldn't love too special, so I added one little stem of Honeysuckle from The Greetery for company.  

This closeup might make it a little bit easier to see that foil...


Okay off to deliver it to the JUGS gallery - fingers crossed!
=] Michele