Wednesday, March 30, 2022

An itty-bitty bouquet!

I had the tiny little wrap from Lisa sitting front and center on my desk and couldn't rest until I found a bouquet of flowers to wrap it around!  I think I found the perfect fit...


Sometimes you just have to look for the supporting characters in those big sets!
This little cutie comes from Altenew's Fresh Bloom set - and thank goodness
the coordinating die cuts the entire bouquet!


Pinkfresh Studio's Essential Braided Oval dies, and a sweet scripty sentiment
from My Favorite Things to Say set of stamps - I didn't know there was a second set but
I'll be adding it to my stash, too.
The friend and little green hearts part of the sentiment comes from 
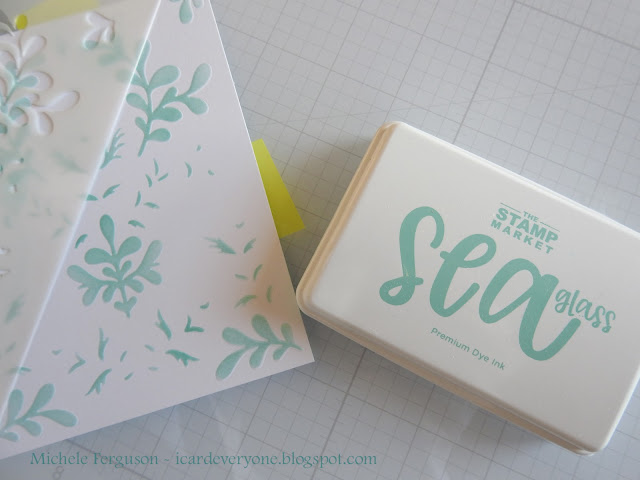
The Stamp Market's Sardine Greetings.

Time to get this one in the mail ... hope your hump day is more happy than bumpy!
=] Michele

Monday, March 28, 2022

Thank you, Friend!

I am a very lucky girl to have many generous crafty friends - today I have to share what I received last week... 


Thank you, sweet Lisa, for this darling floral wrap and bow!
It was even more fun seeing your smiling face on my phone screen
while putting together that bow!
I tucked in three Altenew Lavender Bud sprigs, and a little tissue paper to
fill it up then foam mounted it to a Pigment Craft Cozy Stitched base.
Thanks, is also part of the Altenew lavender bud set.

I have a bit of sunshine today - yay!!  Sure makes laundry day a little more fun!  Your visits make Monday darned right enjoyable - thanks!

=] Michele

Friday, March 25, 2022

Spellbinders' way to paint a sunny day!

 It's been the gloomiest, grayest of all weeks.  As much as I love the color gray, I draw the line there.  I was so happy to receive two darling little die sets from Spellbinders* - they quickly made my days sunnier!


Artful Tulip - Pinkfresh braided tag, and stitched rectangles
Copics for 'paint' on the bristles


Butterfly Burst is a beautiful way to paint the sky!
This time, I used patterned paper from Honey Bee for my 'garden' and brush bristles, and butterflies!

Pinkfresh Mini slimline bundle and classic edgers as supporting characters

That's it for my week!  Tom and I are having our first-since-Covid movie night - AT OUR THEATER!!  I'm not gonna lie - I'm hoping it's empty!  lol

Thanks for dropping by - happy weekend-eve!

=] Michele 

* Norine made me do it!

Wednesday, March 23, 2022

Something new?

The Garden Roses from Pinkfresh Studios is a gorgeous set.  I have the stamps, dies, and layering stencils for coloring.   I love the look of layered stenciling - you can see that here on my first playtime with the set.  

But today, I used those layering stencils a bit differently... I'm not sure if this is something new - I've not seen it done before!  You'll let me know if you have, won't you?

Here's a closeup of my card - 


... would you believe I water colored those Garden Roses through the stencils?    

Here's how: 
  1. Start by heat-embossing the outlines onto watercolor card - I used Ranger Princess gold.
  2. I chose three Distress inks to 'paint' with
  3. Grab two blending sponges, and a small dish of water
  4. Smoosh the ink onto an acrylic block, or a palette
  5. Dip the sponge into the water and blot off onto paper towels - you'll quickly know how much water is needed - practice is a good thing - then into one of the inks
  6. Sponge/dab color through the stencils in the proper order - I did NOT use the base stencil 1 today - love that bit of white for a proper watercolor look

I only used one green for both layers of the leaves - 
just used less water for the detail layer.

I used spiced marmalade for the first layer of the roses, and picked raspberry on the second - because I didn't dry between, they married into a lovely peachy color for the shadow layers.


I allowed them to air-dry, then used the coordinating dies to cut them out.  Here is the finished card:

I love my newest frame - Altenew Leaf Frame Cover die!  the sentiment 
if part of the Garden Rose set, and Altenew also makes the Label dies.

So.  Have you seen it, done it, watched someone else do it??  All I know is I hadn't and couldn't wait to share it with all of you - hope you enjoyed and will give it a try!  If you do try it let me know, won't you?  It certainly would work with ANY layering stencil set and might be just the trick for those of you who only think you can't watercolor.  

I have had the gloomiest week weather-wise.  This little stencil-water-coloring did the trick to raise my spirits!  I'm looking forward to the next time already!

=] Michele

Sunday, March 20, 2022

Color Hues #37 - take 2!


It was during a playtime with the Pinkfresh Studio Big Butterflies that I realized that stenciling ALL the layers of her wings could be one color - yellow stenciling, over teal foiling?  Yes, please!  For Color Hues #37 - take 2!


Just one of the Folk Art Print stencils was used for my background, too - Stencil #2 to be exact... can you tell it was dry embossed first?
I've tried so many times to get both of these butterflies on one card - I think I finally found the perfect position!  and a happy birthday message delivery method.


Hope you're enjoying your weekend!
=] Michele

Friday, March 18, 2022

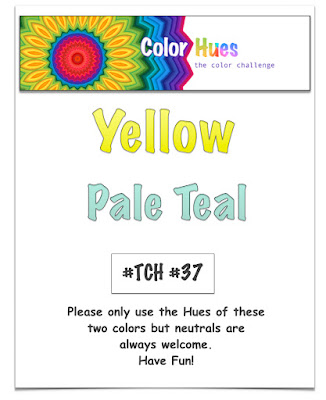
Color Hues #37 - Yellow and Pale Teal


Oh yes, these are definitely my favorite Easter egg colors!

Thanks Color Hues #37!

It was a pretty good time to use these colors to stencil-color a favorite from 
Pinkfresh Studio: Miss Your Smile and layering stencils.


You might notice I added a few shadows with a neutral grey marker.

Hope you have a beautiful, Spring-like weekend!
=] Michele

Thursday, March 17, 2022

Altenew March 2022 Inspiration Challenge - take two!


After a few weeks of studying this photo from Altenew's March 2022 Inspiration Challenge I realized that the grey I saw initially in Therese's photo was reading a bit on the lavender blue side of the color wheel.  Back to the drawing board... and this time, a few springtime daffodils from their Build-a-Flower set!


The rounded rectangle frame was cut from a quarter-sheet of 
watercolor cardstock that I treated to a dry/wet strokes of Caribbean Sky paint from my 36 pan set, and the widest brush from my Altenew brushes.


All set - ready for their gallery! Fingers crossed!
=] Michele